Ordinary life is extraordinary...you just have to know what you are looking for
Showing posts with label tomato. Show all posts

Thursday, September 27, 2012

Easy Peasy Pasta Sauce - Two Ways


Please put up your hand if you have heard the following around your dinner table:

"What's the green stuff?"

"Why is it lumpy?"

"What's in this?"

"What is THAT?"

"Is this all there is for dinner?"

"It looks weird!"

"It smells weird!"

"It tastes weird!"

"I don't like it" (before they've even tried it)

....shall I go on?

"What are the black specks?"

"Why is it touching my meat"

"I don't like tomato sauce, don't we have any ketchup?"

"I'm not hungry anymore....what are we having for dessert?"

"EWWWWW!"

I've got the sweats just thinking about it.  We've all been there.  You find a recipe you know your family will like, you make a trip to the market to lovingly hand pick all the ingredients, sweep your hair into a pony-tail, put on an apron and get cracking in the kitchen until your back is sore and you've burned your hand twice...BUT...you call your be-loveds to the table in a sing-song-y voice and as you are gracefully carrying out your masterpiece with an excited and anticipatory smile you hear it...."I am NOT eating that!!!"  When this happens I imagine myself as a balloon that is flying around the room as the air is rushing out and making that noise...you know the one.

It's tough to take.  I would say that we eat pretty simply....I don't prepare exotic, gourmet meals that only someone with a truly refined palate could appreciate.  I believe fresh is best and a well balanced diet are pretty key in keeping us healthy and energized but that's about it.  However, there are times I have to take my cook hat off and slip into my salesman role, and failing that, I sometimes break out the fake nose and moustache disguise, put on a black body suit and dark glasses (not literally of course, that would be weird) and go into sneaky mode.... my sister calls this being "Sneaky-McSneakerson".  I'd have a T-shirt made but then I suppose that would defeat the point.  Oh well.  The following is a quick pasta sauce that I made but ate two ways.  One - the straight up way served with whole wheat, cheese filled tortellini, and two - pureed in my Vitamix blender and tossed with a whole wheat fusili pasta.  Same exact ingredients, but my boys seem to prefer it "blended", if you will - after all, they "don't like zucchini, onion and garlic".  (Cue music from Mission Impossible)  Sneaky-McSneakerson strikes again!

Straight Up!
Blended...
For me and Ryan...
For the boys...
Easy-Peasy Pasta Sauce


  • 10 - 12 Roma Tomatoes, chopped
  • 1-28oz Can Whole Tomatoes 
  • 1 Large Onion, chopped
  • 1-2 cloves Garlic, thinly sliced
  • 2 ribs Celery, chopped
  • 1-2 Yellow Zucchini, chopped
  • 1 Red Bell Pepper, seeded and chopped
  • 1 Handful fresh Basil Leaves, chopped
  • Sea Salt
  • Fresh Ground Black Pepper
  • 2 Tbsp Butter
  1. In a large sauce pan, melt butter over med heat
  2. Add chopped onion and celery, cook until the onions soften and begin to look translucent in colour, approx 6 - 7 min
  3. Add sliced garlic and cook for additional minute
  4. Stir in chopped tomatoes, can of whole tomatoes in their juice, zucchini, bell pepper, chopped basil leaves and a sprinkle of salt and pepper
  5. Bring mixture to a boil and turn heat down to a simmer
  6. Simmer, stirring and tasting often until sauce begins to thicken a bit and flavours are well blended
  7. Season with salt and pepper
  8. Serve over your favourite pasta straight up, or puree in a blender first and then toss with pasta
*the pureed sauce freezes well in ice cube trays for an easy individual portion - this is great to have on hand when sending noodles in a thermos for lunch


Enjoy!

xo

Jen

Wednesday, August 29, 2012

Stewed Tomatoes & The Great Tomato Give-Away!


It's inevitable.  The great tomato give-away begins each and every year around mid to late August.  Either you planted a few tomato plants in your yard and now they are bursting with beautiful fruit that you and your immediate family couldn't possibly use or else people everywhere are generously gifting you with the ripened spoils of their gardening windfalls.  I say that either way you are in a winning situation!  Since our move last summer, I have yet to actually plant any vegetables and this makes me sad.  Our last home had a gorgeous and huge garden where we got to grow our own tomatoes, peppers, onions, potatoes, lettuce, zucchini, watermelons, pumpkins, butternut squash, asparagus, cucumbers, beans...you get the picture.  I now have a lovely space in my yard just waiting for the spring of 2013, so stay tuned for the coming new adventure! 

Any-who, my hunky husband came home the other evening with some precious garden give-aways courtesy of one of his clients.  Hooray!  Hurrah!  I love free stuff!  Especially when we can eat it!  So after a day or two of tomato sandwiches, tomato salads and tomato dressing, these beauties were just asking to be stewed down and put away in my coveted freezer to keep all of the other goodies in there company.

Years ago, a woman at a roadside vegetable stand convinced me to take a hamper of tomatoes for $5.  I couldn't beat the price even though I had no idea what I was going to do with all of those tomatoes.  Fortunately my Mom was visiting and she started immediately coring, slicing and dicing and soon my kitchen smelled great and I was filling the freezer with bag after bag of delicious stewed tomatoes.  I used those babies on everything that year - in soups, pasta sauces, in rich beef stews, to top thick slices of fresh crusty bread, as a side for pan-fried pork chops and meatballs, and ladled over rice and macaroni and cheese......  Whoa!  I am getting hungry just thinking about it.

So, whenever I have a few extra tomatoes on hand then this is definitely my go-to use for them.  You can go to the trouble of peeling and seeding the tomatoes if you like, and I do on occasion, but if I'm in a hurry (or not in the mood) then it all goes into the pot - seeds, skins and all.  Also, this recipe changes for me every time I make it as I will tend to use whatever vegetables and herbs I have on hand - onions, celery, garlic, peppers, zucchini, basil, thyme, oregano and, of course, salt and lots of fresh ground pepper.  I will then list my ingredients on the freezer baggies so if I'm looking to make a pasta sauce I will use one with Basil and Garlic, if I am looking for a sauce to braise or stew chicken, I go with Thyme and if we're having tacos, fajitas or nachos, I pick one that's been stewed with jalapenos or chili peppers. 

It's really about using everything you have and wasting as little as possible.  There was a time when I am convinced we threw away almost as much food as we actually ate.  Meat, produce and dairy sitting in the refrigerator until it was expired and we would guiltily add it to the weekly trash pick up.  I knew it wasn't right and I decided to make a serious effort to change that wasteful and costly habit.  It's actually been really fun to come up with ways to incorporate leftovers into a future meal or find quick and delicious uses for the odd carrot or 3 beets that are left in my fridge at the end of the week. 

Wash 'em up!
Core 'em up!
Dice 'em up!
Cook some onions down in some delicious olive oil.  Ahhh...smells good!
Add your tomatoes........
I used my garlic press to add the garlic but alternately you can thinly slice up a clove or two.  Whichever way floats your boat!
Next comes the green pepper and basil stalks.
Lastly, add the chopped basil, salt and pepper.....and KEEP TASTING!  It'll not only make your tummy happy but will let you know if anything is missing.  Then cook it down slowly until all of the flavours are well blended and the consistency thickens up nicely.  This is way better than the stuff in a can.

The day I made this, there was a little left over after portioning out my baggies so I pureed the last bit and used it to top homemade pizza dough along with some cheese, left-over chicken and veggies. We had a great meal and a healthy addition to my freezer stores.  I love that! 

Puree.
Use as a pizza sauce and add your favourite toppings....
Voila!  Dinner is served!!
xo

Jen

Monday, August 20, 2012

Wheat Bran loaf w/ Honey, honey!


If you've never baked bread from scratch then you have sadly missed out.  Sorry to be so dramatic but hey, that's me.  Plus, I just really, really, really want you to experience all the wonders resulting from this beautiful craft.  The smell of yeast, the texture of the dough as it comes together, the little puffy mounds that begin to rise under your tea towel reminding you a little of Frankenstein - "it's alive!", you'll want to shout.  And finally, the unbelievable aroma filling your home as your loaves bake and the sound of the crust when you gently tap the finished product.  Wait - the taste!  How can I forget the taste?  It's just so much better than the stuff you buy in the bag at the grocery!  Now I am no bread "artisan" but after many years of kneading, I can work my way around a loaf or two.  I will say that bread baking requires a little practice but as with most things, the more you do it the better you get at it plus the kneading part is a great workout for your arm muscles and who couldn't use an extra workout here and there?  Especially if you're eating all of that bread!  Ha ha!

This is quick-rise yeast.  Looks normal enough...
Hey now!  What's going on?
A little luke-warm water really woke those babies up!
Whole wheat flour...so soft and flour-y?  I'm so descriptive, I know.
Wheat bran!
When I'm in the mood I do everything by hand but today I'm not in the mood so I decided to start with my trusty mixer.  It happens.
Pre-me-kneading.
Here we go.  Almost looks like a smile...
Dough is looking smooth and feels great!
Into a large, greased bowl to rise, baby, rise!
...1 hour later, after it's doubled in size you ....flatten it?  Yup!
And one becomes two...
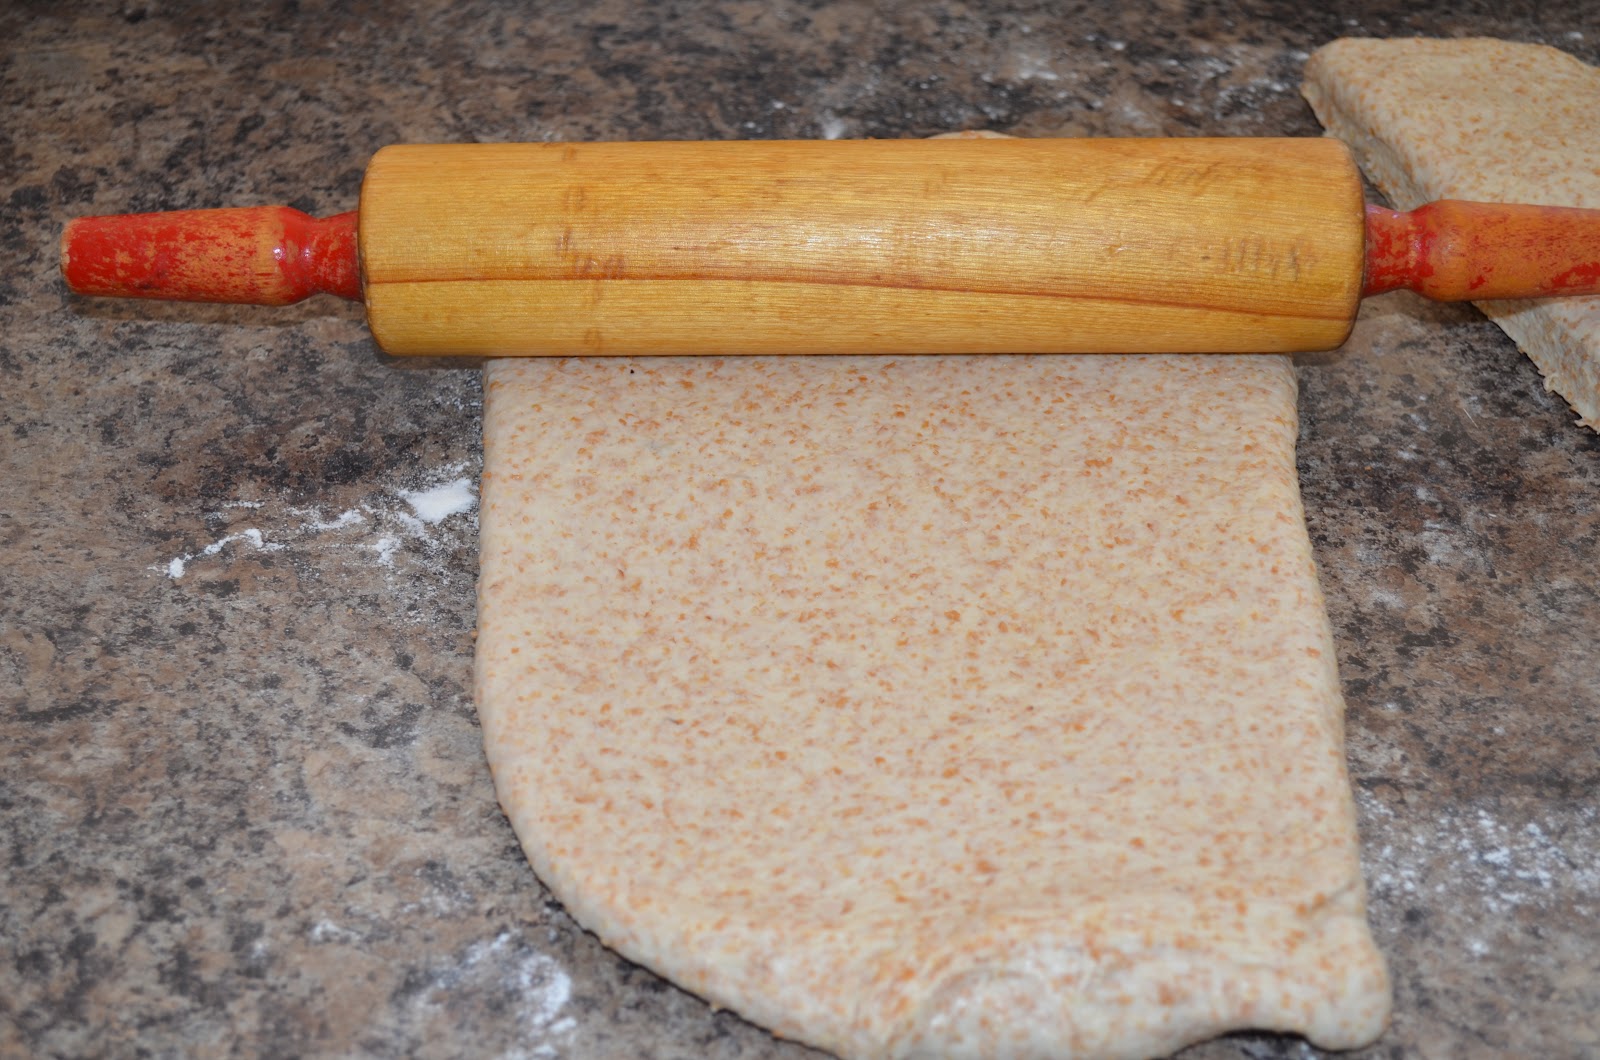
Out comes my grandmother's rolling pin...not because it's a particularly good one but I love using it knowing that she used it to make all of my childhood favourites.
Rolling rectangles, batman!
Looks like a jelly roll!
Nip and tuck...it's not just a TV show, ya know!
Into a greased loaf pan for rise number 2.
IT'S ALIVE!  (See, I told ya you'd want to shout it)
After the second rise...
Looking like they want to jump in the oven.
Can you believe it?
Did I make that?
Two for the price of one!!  Oh yeah!
Now for the real test....sooooo good!
This is how we topped bread at my grandmother's house.  Fresh field tomatoes from the garden with salt, pepper and green onion!  Delicious!

Wheat Bran Loaf w/ Honey

  • 2 1/4 tsp Quick Rise Yeast
  • 2 1/2 cups luke-warm Water
  • 3 cups Organic Whole Wheat Flour
  • 2 - 2 1/2 cups Unbleached Bread Flour
  • 2 cups Organic Wheat Bran
  • 1/4 cup Honey
  • 1 Tbsp Olive Oil
  • 11/2 tsp salt
  • 2 Tbsp Milk
  1. Dissolve yeast in 1/2 cup of luke warm water and let stand for 4 - 5 minutes, until bubbles begin to rise
  2. In a large bowl, combine the whole-wheat flour, 1 cup of bread flour, bran and salt
  3. Add remaining 2 cups of water, yeast mixture, honey and oil, and stir adding enough of the remaining bread flour to form a soft dough that's not too sticky and holds it's shape
  4. Turn dough out onto a lightly floured surface and begin kneading by hand adding more flour as necessary until dough is smooth and elastic, about 10 minutes
  5. Place ball of dough into a clean, greased bowl and turn to grease the whole ball
  6. Cover with a clean tea-towel and place in a warm, draft-free place to rise until doubled in size, about 50-60 minutes
  7. Once risen, turn the dough out onto a lightly floured surface and press flat
  8. Cut dough into two equal halves
  9. Roll out each half into a rectangle, using a rolling pin
  10. Roll each rectangle jelly-roll style, stretch and fold under ends, and pinch seams
  11. Place each loaf into a greased loaf pan, seam-side down
  12. Cover with a tea towel and place in a warm, draft-free place to rise again until doubled in size, about 50-60 minutes
  13. Preheat oven to 375 degrees F
  14. Using hands or pastry brush, glaze each loaf with 1 Tbsp milk 
  15. Bake approx 35 min until loaves are well browned and sound hollow when tapped on the bottom
  16. Cool on wire rack

I am certain you need to knead!  Have fun and enjoy!

xo

Jen